This is the second part of my series on better looking environments in Unity. It has been a while since the first post and Unity has made a lot of improvements since then. In this part I wanted to cover the post processing effects needed to achieve a more dramatic look, like the one in the current set of screenshots that I posted over the summer, which can be found in the Media tab.
With the current version of Unity (the pro license) it is possible to do High Dynamic Range (HDR) rendering and apply a number of effects on the camera to give any scene a more polished, professional looking, AAA feel. This is all relatively easy and is really just advanced features of Unity that do all the work.
First, I would like to point out that as of version 4.x of Unity, the ability to use normal maps in terrains has been built in and there is no need for custom scripts and shaders as described in the previous post. When you assign a texture you can also assign a normal map that goes with that texture.
Another major change to Unity, as of version 3.5, is the ability to use HDR and add effects such as Bloom or Bloom and Lens Flares and do Tonemapping. The result of using HDR rendering and adding these types of affects is the ability to more accurately represent light and how the human eye works. It is often used to produce a more ‘magical or dreamlike’ scene.
Other effects such as Screen Space Ambient Occlusion (SSAO), Tilt Shift, and Vignetting help to add additional richness and a sense of depth to a scene.
Here is the part of the camera setup in AOS that includes all the post processing effects:
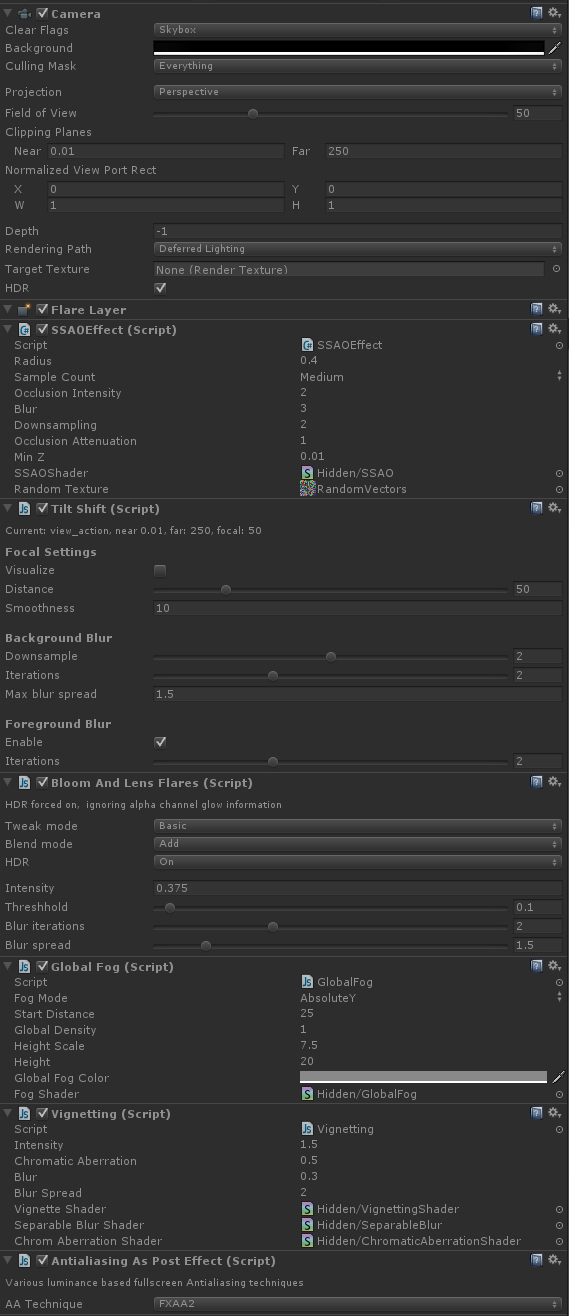
Unity has an immense number of post processing image effects scripts and the proper utilization of these is what makes games visually stunning. There must also be the ability to turn off many of these to allow for playing the game on lower end hardware.
Here is the current video options setup for AOS:
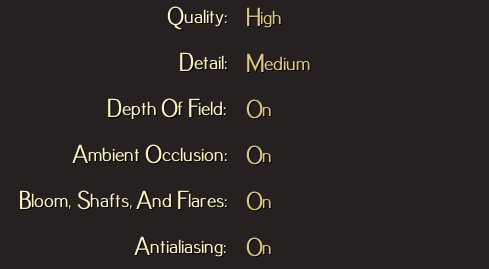
And to show the difference, here is the highest settings:

And the lowest settings:

In the next part I am planning to combine some action with an experimental night scene with interesting lighting both from static lights (moonlight, lanterns, etc.) and dynamic lights (fireflies, spells etc.) This would be the second post to include some video. Please leave feedback, as outside interest in the project always inspires me to do more.
Awesome stuff, thanks for the share Michael, the game’s looking gorgeous! What a difference those effects make — the low end screenshot looks solid, but then switching the the high-end screen shot is night and day. Really great use of the effects.
Do you / are you planning on doing any auto-detection of the hardware? Like if someone is running on an iPhone 3GS vs. iPad 4, automagically setting the graphics options?
Lookin great, keep the updates coming 🙂
Hey Jono, thanks for nice comments! AOS is going to have a built in mechanism to auto adjust down the quality settings based on a frame rate test. A persistently low frame rate will likely cause the player to be presented with a decrease quality/improve performance notice with a yes or no button and a don’t ask me in the future checkbox. Changing the overall quality setting also drives the Unity quality settings in addition to the post processing effects. There are many things tied to the Unity quality setting which are also changed. This is how shadow usage is adjusted for example. Also, AOS is a desktop game that uses all the advanced rendering capabilities of Unity, much of which can’t or won’t run on mobile.