
It’s been a while since I’ve made a longer post, so I wanted to share all the progress I’ve made on the lighting system in Zotbox and explain some of the technical details behind it. While I’ve shared bits and pieces before, I didn’t go into much depth about how it all works. This is just the first iteration of my work in this area, and I have plenty of additional features and improvements planned for the future.
Block Based Global Illumination

One of the coolest things about building a block based world is that many things can work within that block system. One of them is lighting which is very much inspired by the original Minecraft global illumination system. I began researching the the basics of how this works and found a few great posts on reddit that really provide a good introduction on how to do it. Find them here in Part1 and Part2.
In Zotbox I am on a mission to mix more traditional models into the world instead of just having blocks everywhere. Blocks can be mini models like in Minecraft and I am going to have these kinds of ‘building’ blocks but I want to go beyond that with what I am calling detail models.
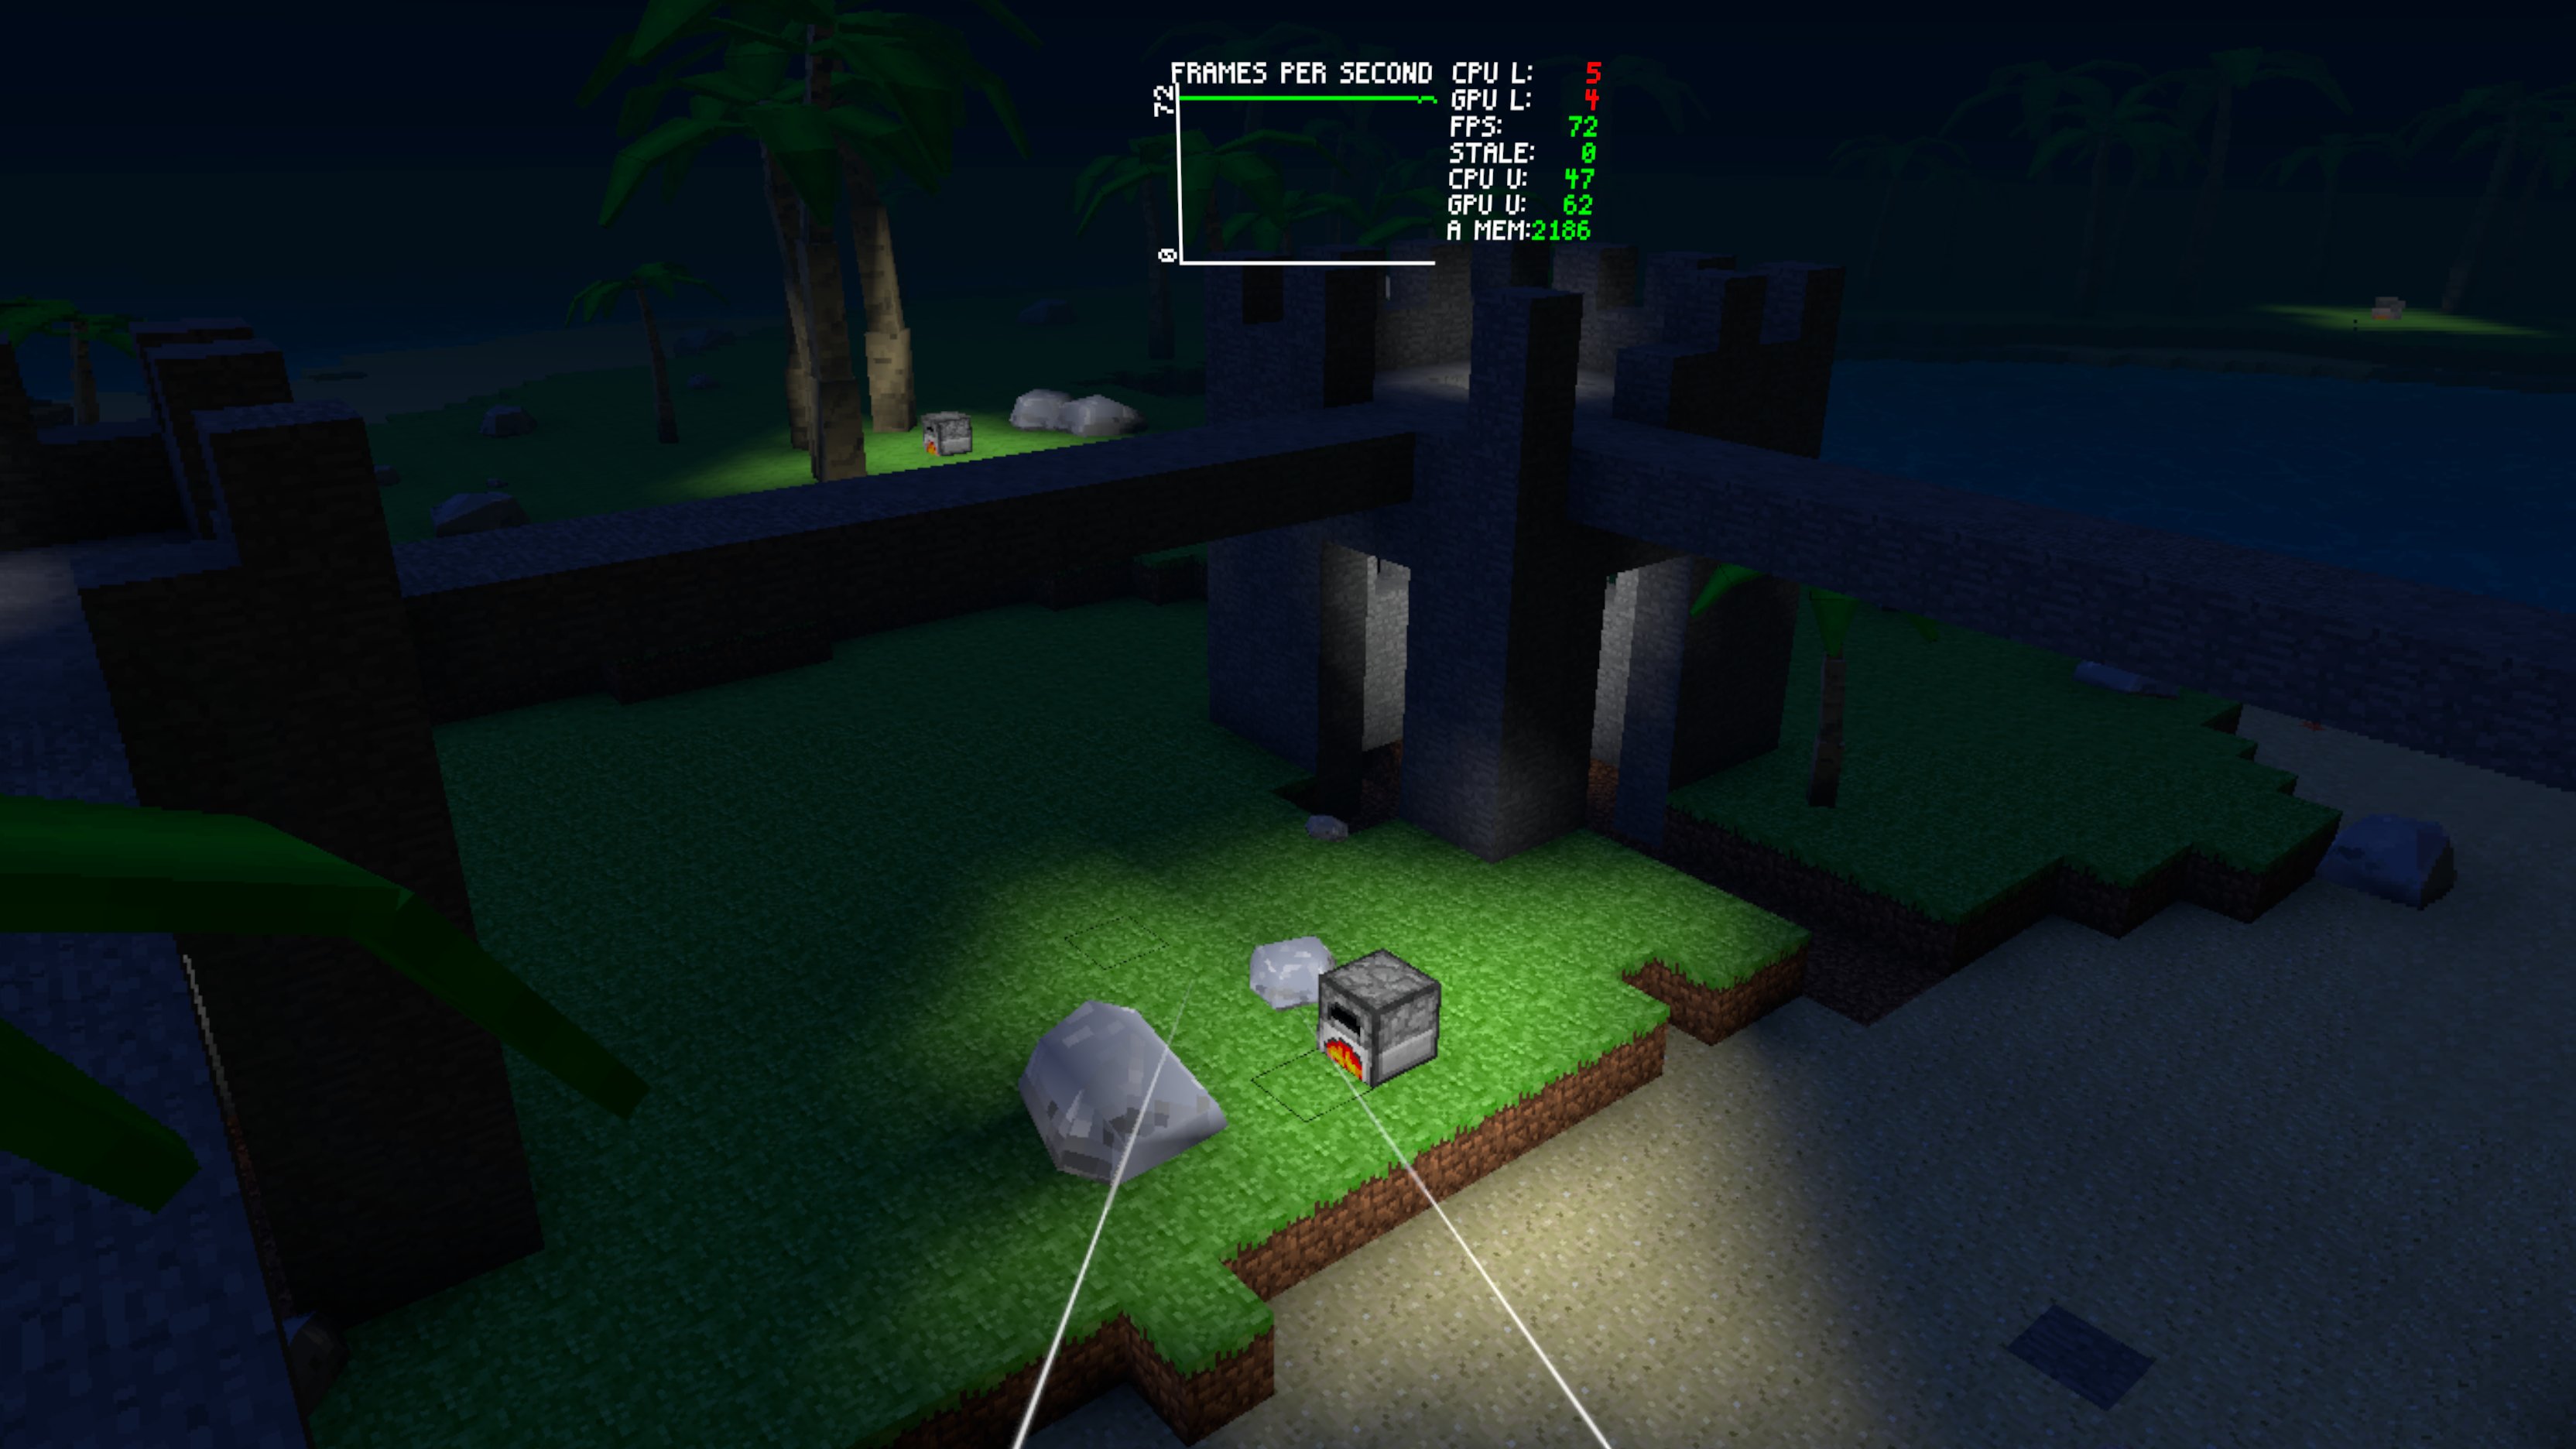
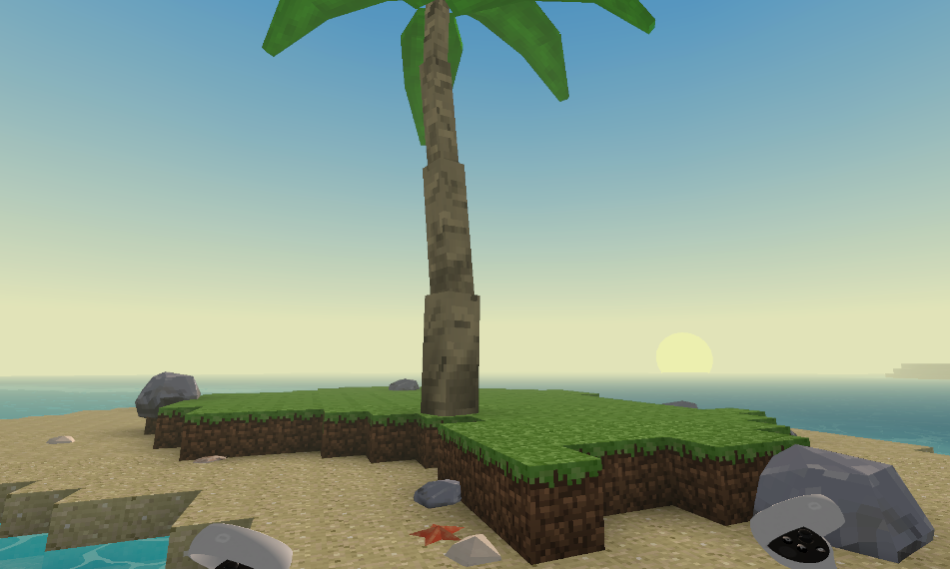
If you look closely, you’ll notice how objects like rocks and trees are lit accurately within the scene. For example, the rock is illuminated on one side while casting subtle occlusion on the back. The result is a clean and visually appealing basic lighting effect. To make this work the block based lighting includes the blocks where the models are located and the models then in turn derive lighting for each vertex from the block based light values.
The block based global illumination has two parts called sky light and block light where the skylight is based on rules where the light flows downward and the block light is based on rules where the light flows in any direction. There can be many rules but the core one is that light does not flow through a solid block. The light values end up being calculated for every block when a chunk is generated and also updated as the blocks are modified or block lights are added, removed, or changed.
These values are stored in the vertex color of the block or detail mesh and are used in the custom shaders I have written. The channels in the vertex color value hold the light levels. For example r has the sky light value and b has the block light value. The values are then used to calculate the intensity of the respective light in the shader. This is over simplification and the values could actually have color but I am only going to explain the very basic flow.
The skylight is calculated based on the standard ambient and directional light of the scene while the block light simply uses the surface albedo. The colors are mixed in the shader using the light levels blending sky light and block light with any surface emission. The standard fog is then applied giving the final color.
With the light being calculated this way there are no lights in the scene except the one directional light for the sun and moon which enhances the sky light. This also makes it easy to eventually have scenes with lots of complex looking ‘lighting’ in it but no overhead for it. This allows for a fully procedural world that can be created and manipulated on the fly by the player. This is difficult or impossible with traditional lighting approaches which would require dynamic lights and shadows and would never run on something like the Quest 2 at framerates required for VR.
The common approach to making high quality lighting that can run in VR is to use baked lighting with things like light probes for lighting dynamic elements. However scenes created with that approach are not meant to be modified. Many games use deferred rendering where lighting calculation is delayed and not performed for pixels where overdraw happens. However for performance and other reasons this isn’t usually possible in VR especially on Quest and still has overhead for lots of lights. It just isn’t easy to have a fully modifiable procedural world with lots of lighting on something like Quest.
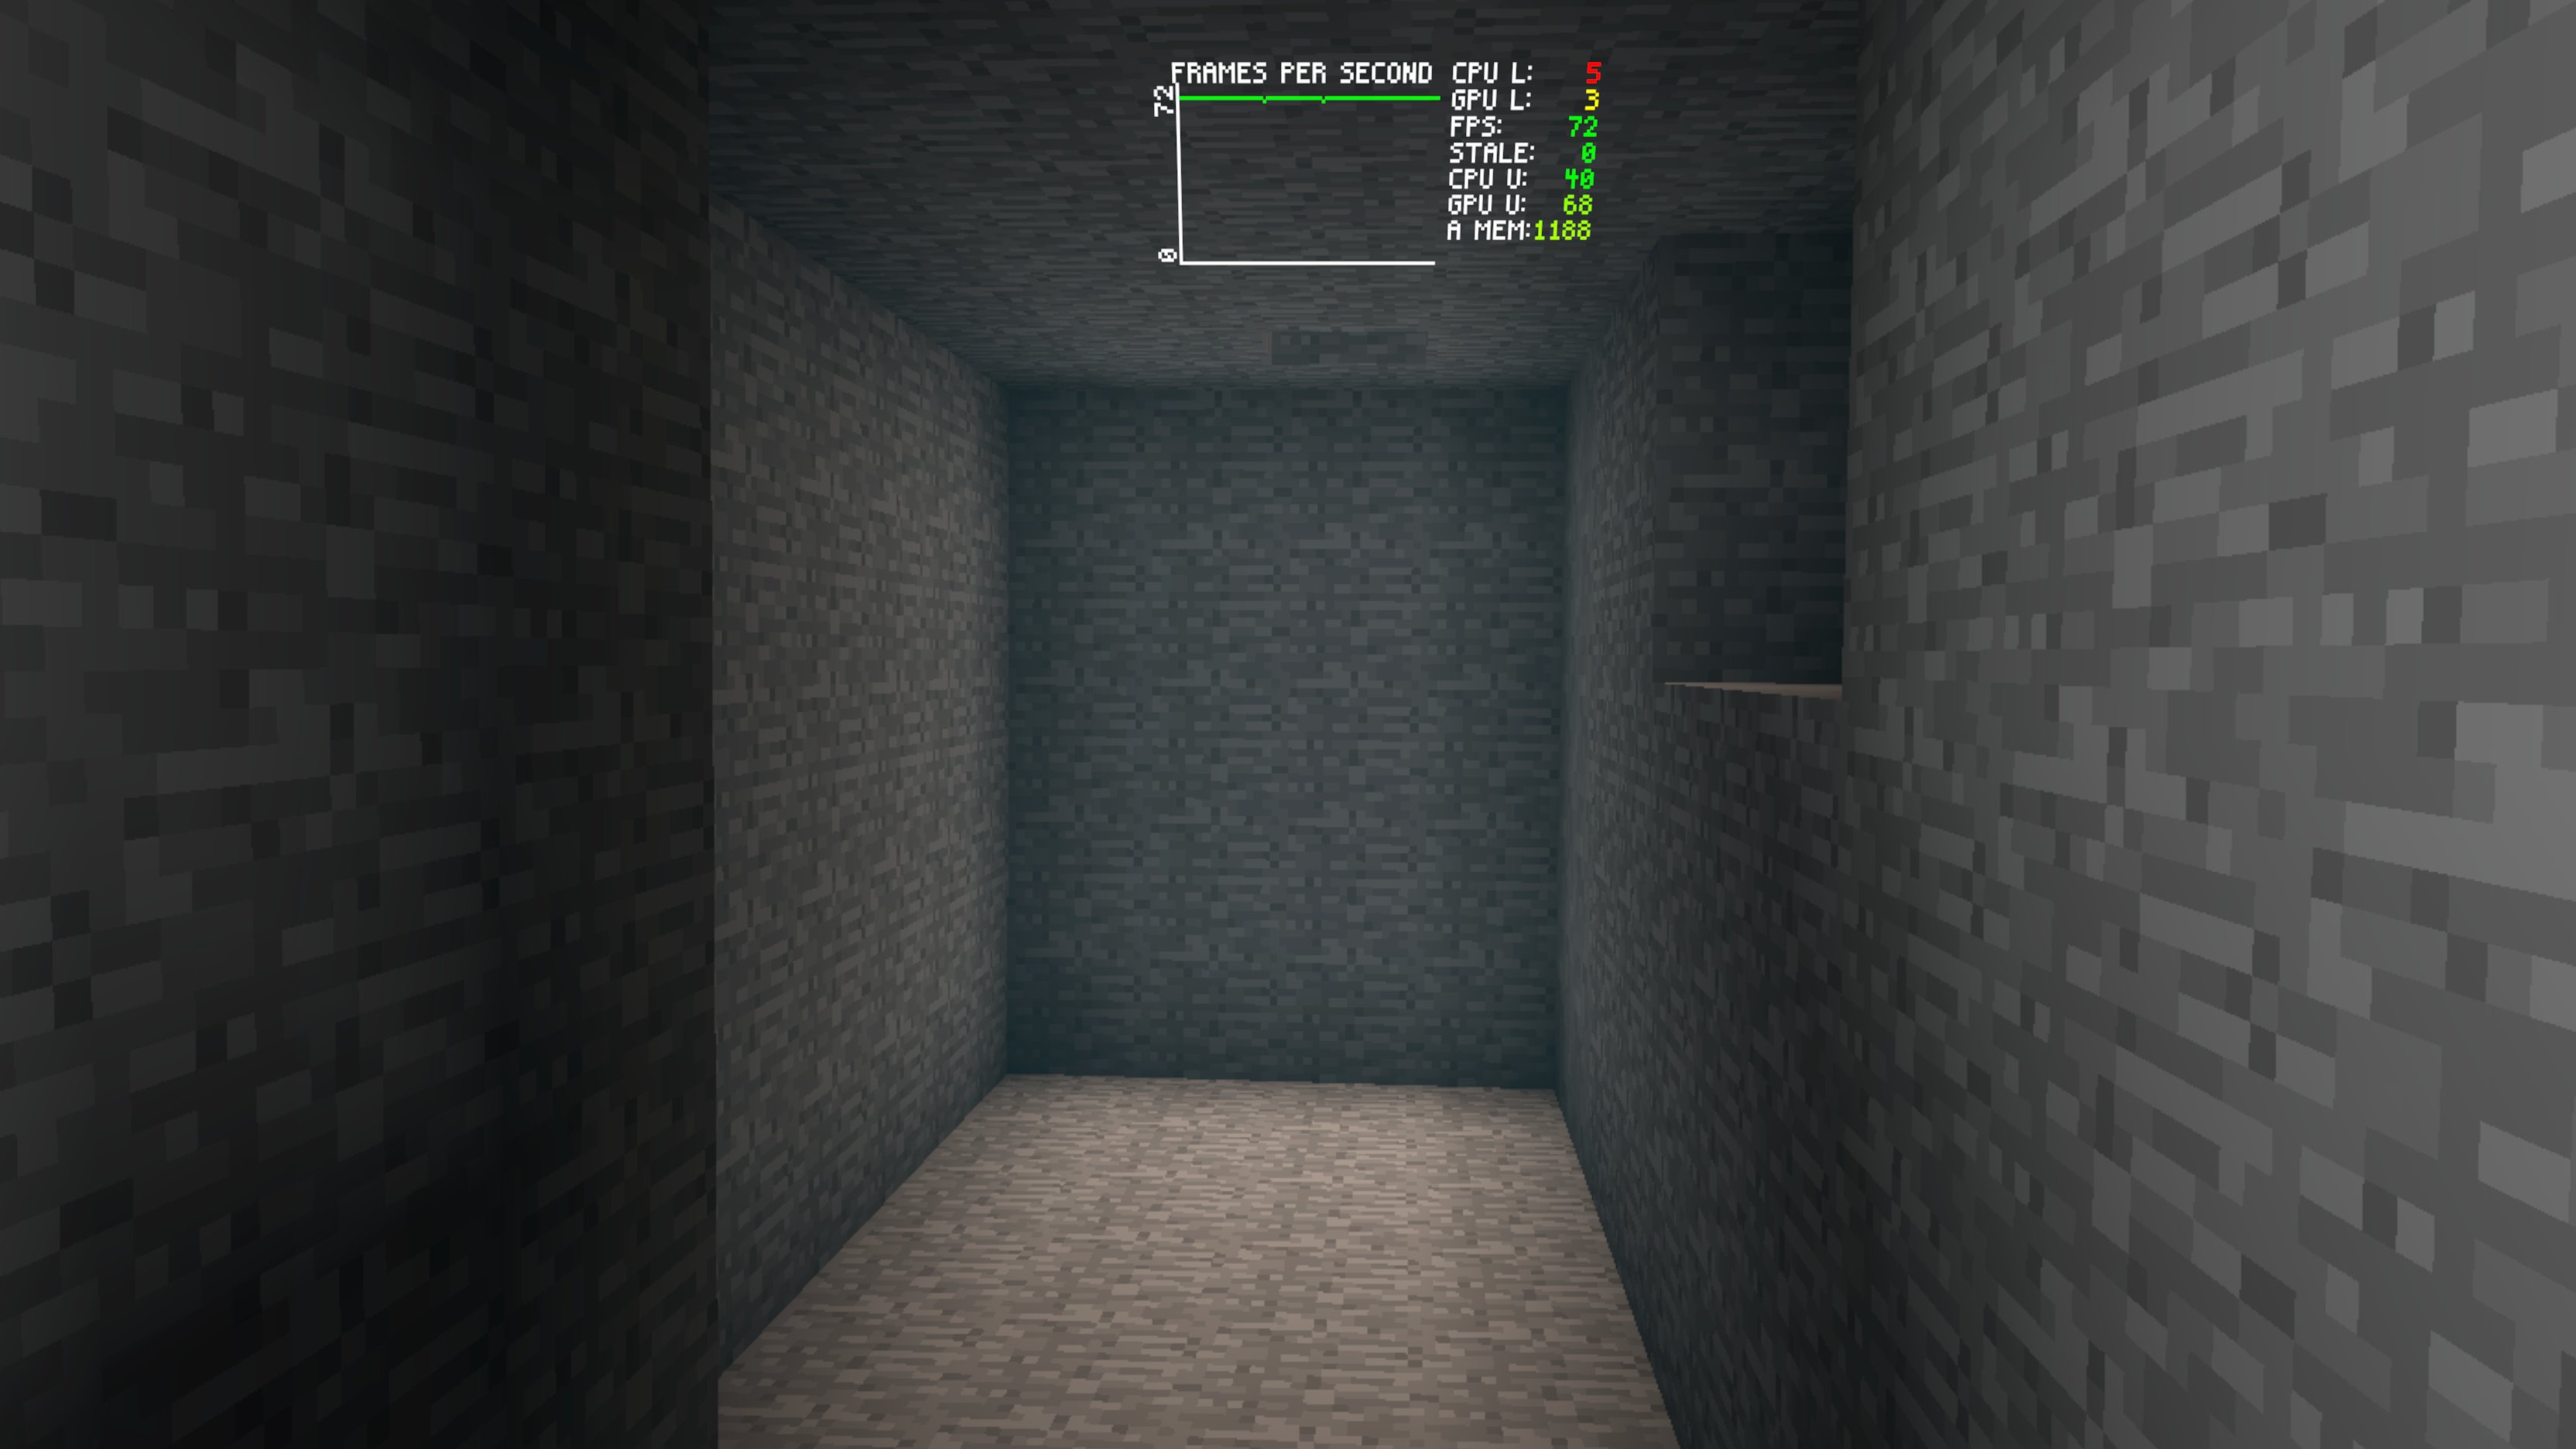
A tunnel with a hole to the surface and sky light spilling in during the day

The same tunnel with sky light spilling in during the night
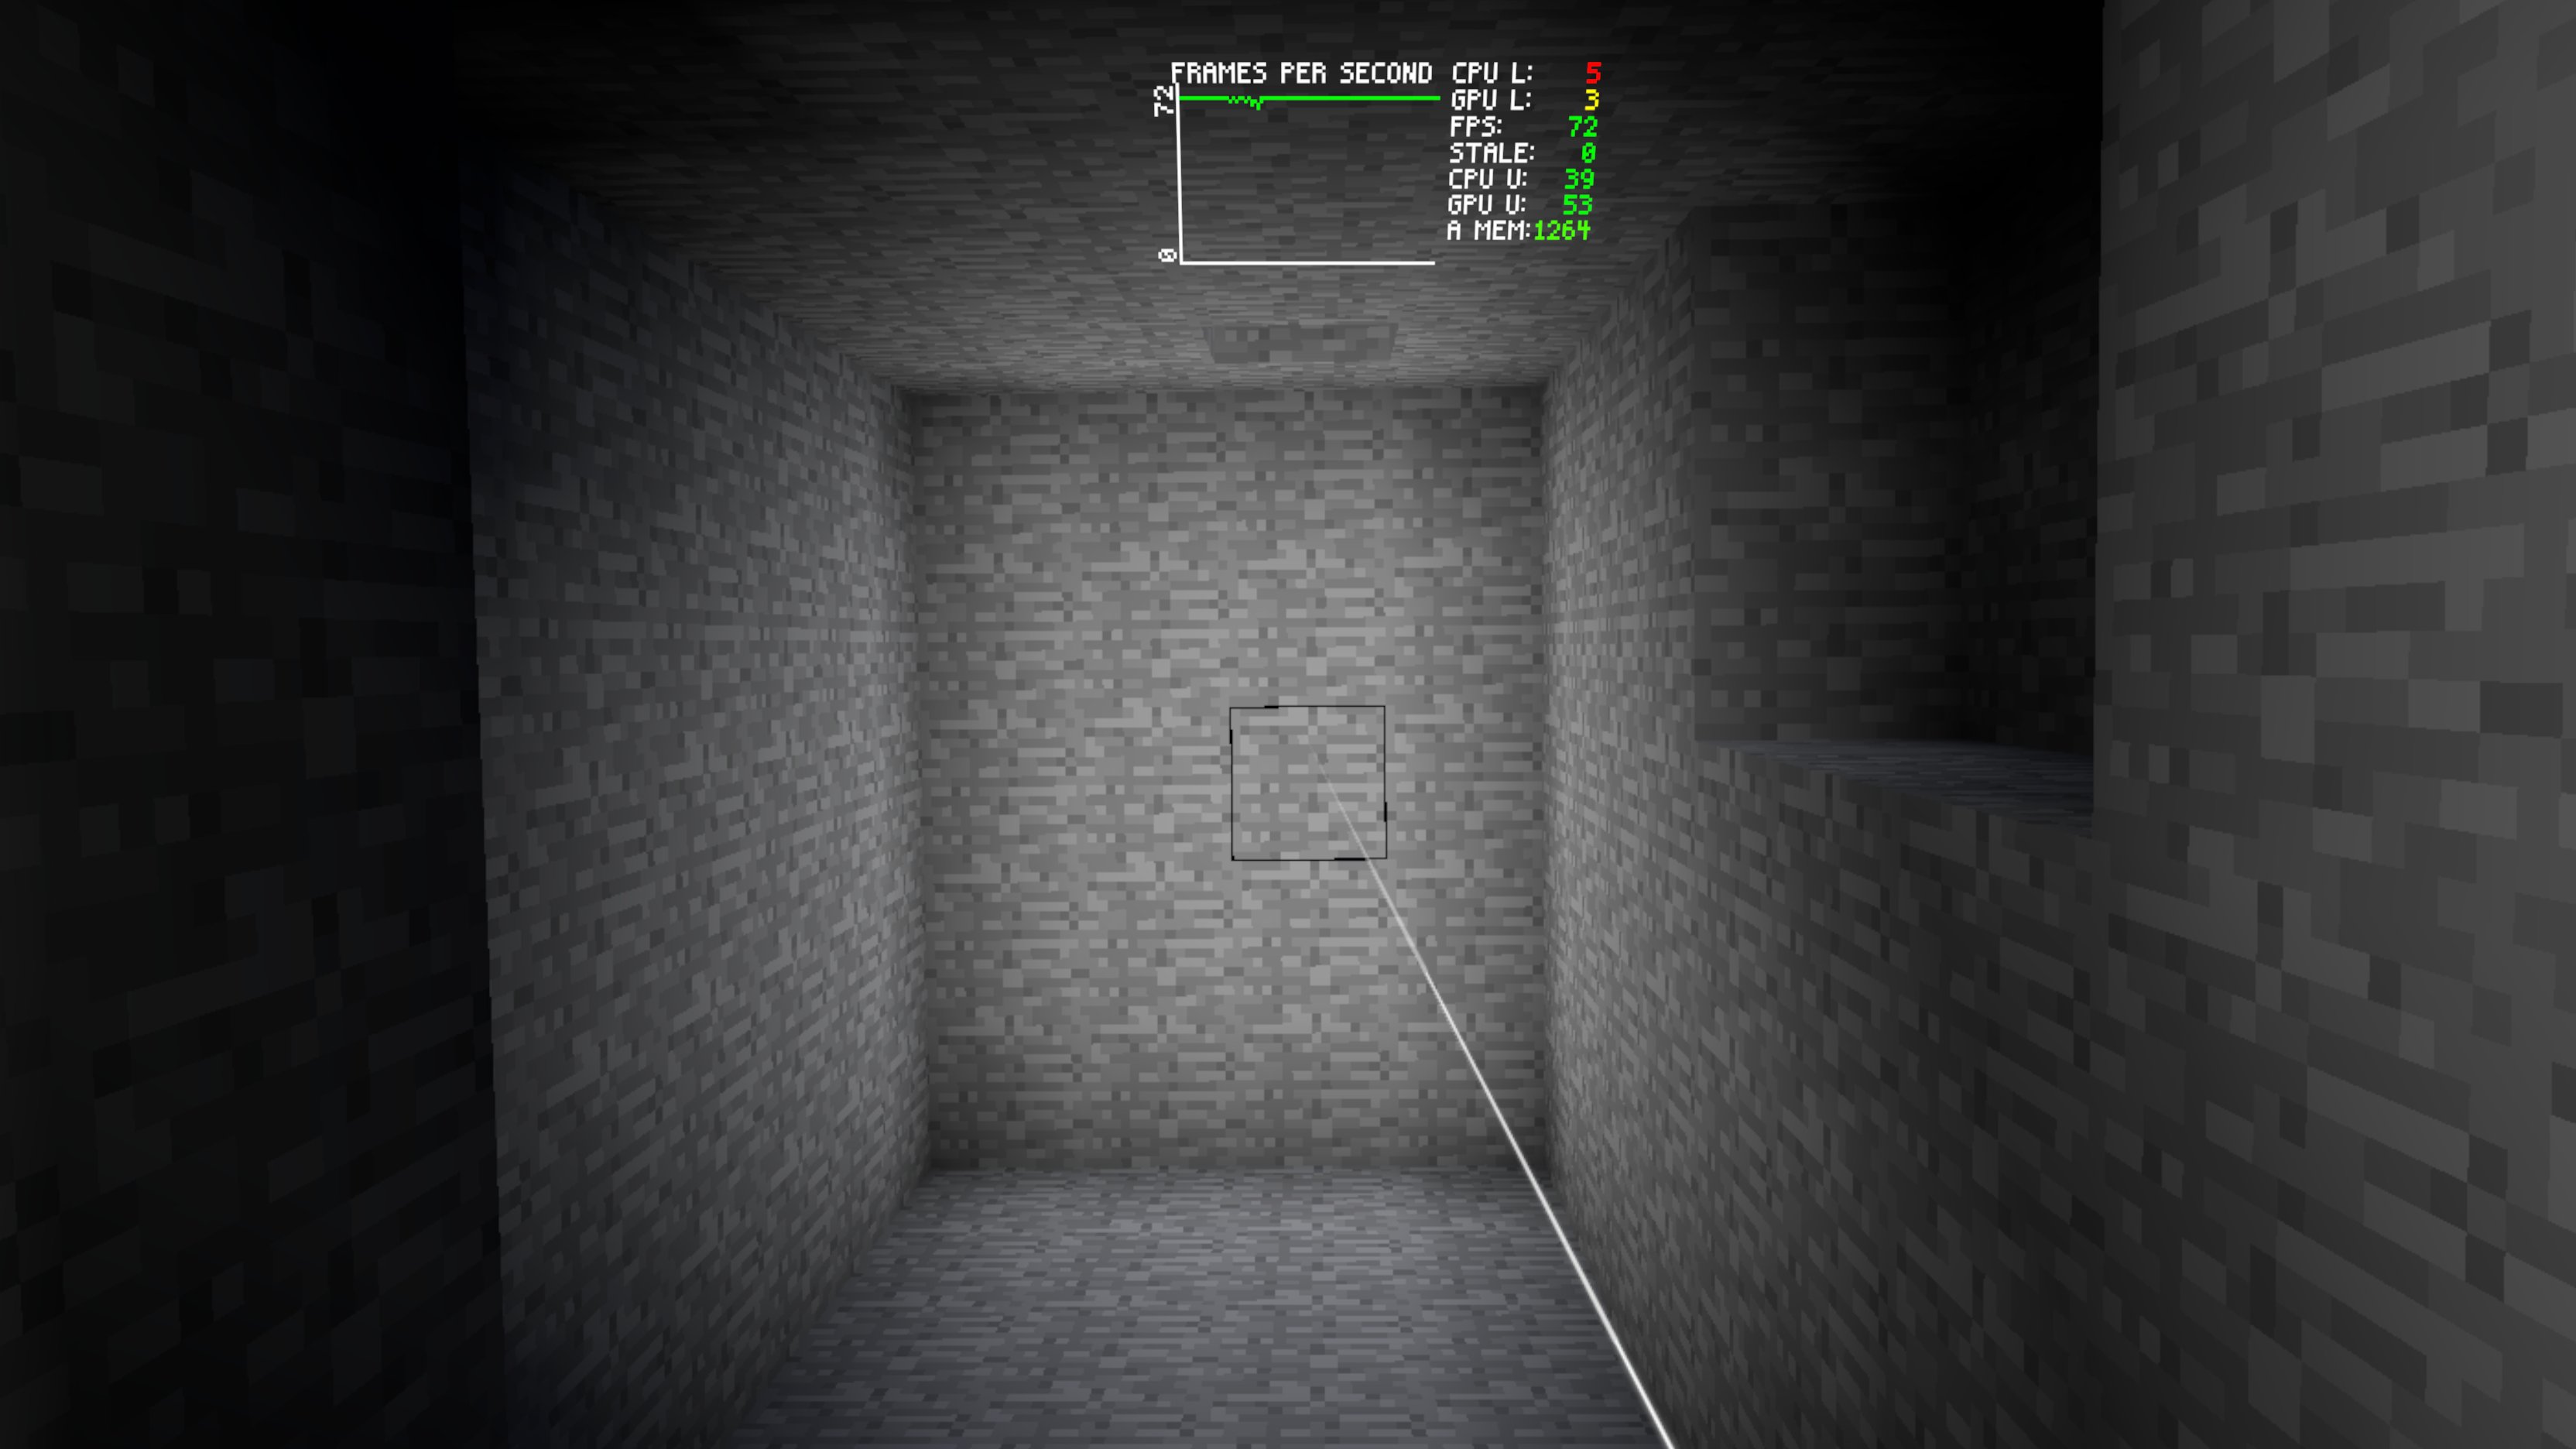
And with the headlamp overriding the sky light
One of the coolest aspects of block based global illumination is how light can flow from outside to interior areas or underground spaces and this just sensibly updates when altering the world. Such as digging a hole from a dark tunnel to the surface and skylight just spills in.
The use of the ambient/directional light based on the sun/moon provides a nice subtle effect in these scenarios. When there is block light present such as when the headlamp is on this is blended in and overrides the skylight.
While implementing all of this I have realized that block based global illumination is critical in supporting the ability to freely manipulate the environment and see it respond in a natural, intuitive way which enhances both presence and agency in VR.
Block Based Ambient Occlusion

An important visual effect in most games is ambient occlusion which is essentially the darkening of surfaces where there is less ambient light reaching it. Most games use a full screen post effect that depends on the depth buffer and shades everything in the scene. However this is impossible for performance reasons on a mobile chipset like the ones in the Quest headsets. It can be done with baked lighting but that doesn’t work for a block based world that is generated and modifiable.
There is a simple way to simulate this though by shading the blocks using the vertex color of each corner. Based on neighboring blocks being there or not and how many are adjacent the vertex color values are simply adjusted to make the inside corners of blocks darker and the outside corners of blocks lighter. This is just calculated along with the block lighting and incorporated into the final vertex color.

Additionally the detail models take up space and look like solid blocks in the chunk generation process so this provides a rough ambient occlusion effect on blocks where detail models exist. The shading around the rocks on the beach is an example of this and helps to ground the detail models to the blocks around it.
This is the same for the detail models where the lighting is derived from the blocks they occupy and these are also adjusted for ambient occlusion based on the proximity to neighboring blocks. This is visible in the base of the palm trees, rocks, or seagrass being darkened.
The block based ambient occlusion is almost free only requiring minimal calculation when a chunk is generated and fits with the simplistic blocky art style and enhances the scene.
Day Night Cycle
I am so envious of the beautiful day/night cycle in Minecraft. Ultimately I want to get there with the sky system but it may take a while navigating all the performance issues. There is actually lots of complexity to this part of the lighting equation and it ties into many things in the full experience.
I spent some time experimenting with procedural sky box shaders but they are just too expensive. Even the simplest design is like a full screen effect – expensive shader times lots of pixels. I do eventually want to investigate some kind of a hybrid approach to what i am working with now to add effects like the glow around the sun but in an inexpensive way.
I have been using a mobile friendly sky dome system which has worked well and originated from the Synty Studios Simple Apocalypse art pack.

The sky dome is driven by an image that is essentially a one pixel vertical slice of the sky over time which is shifted by using a uv offset in the material. The sky goes from day through a sunset then is night and goes through a sunrise and then is day again.
The original image that came with the art pack was ok but didn’t really work well so I ended up making my own. It is actually more difficult to get this right than it looks since gradient tools in paint programs just don’t cut it. I ended up writing a custom gradient generating tool to generate the various gradients I needed.

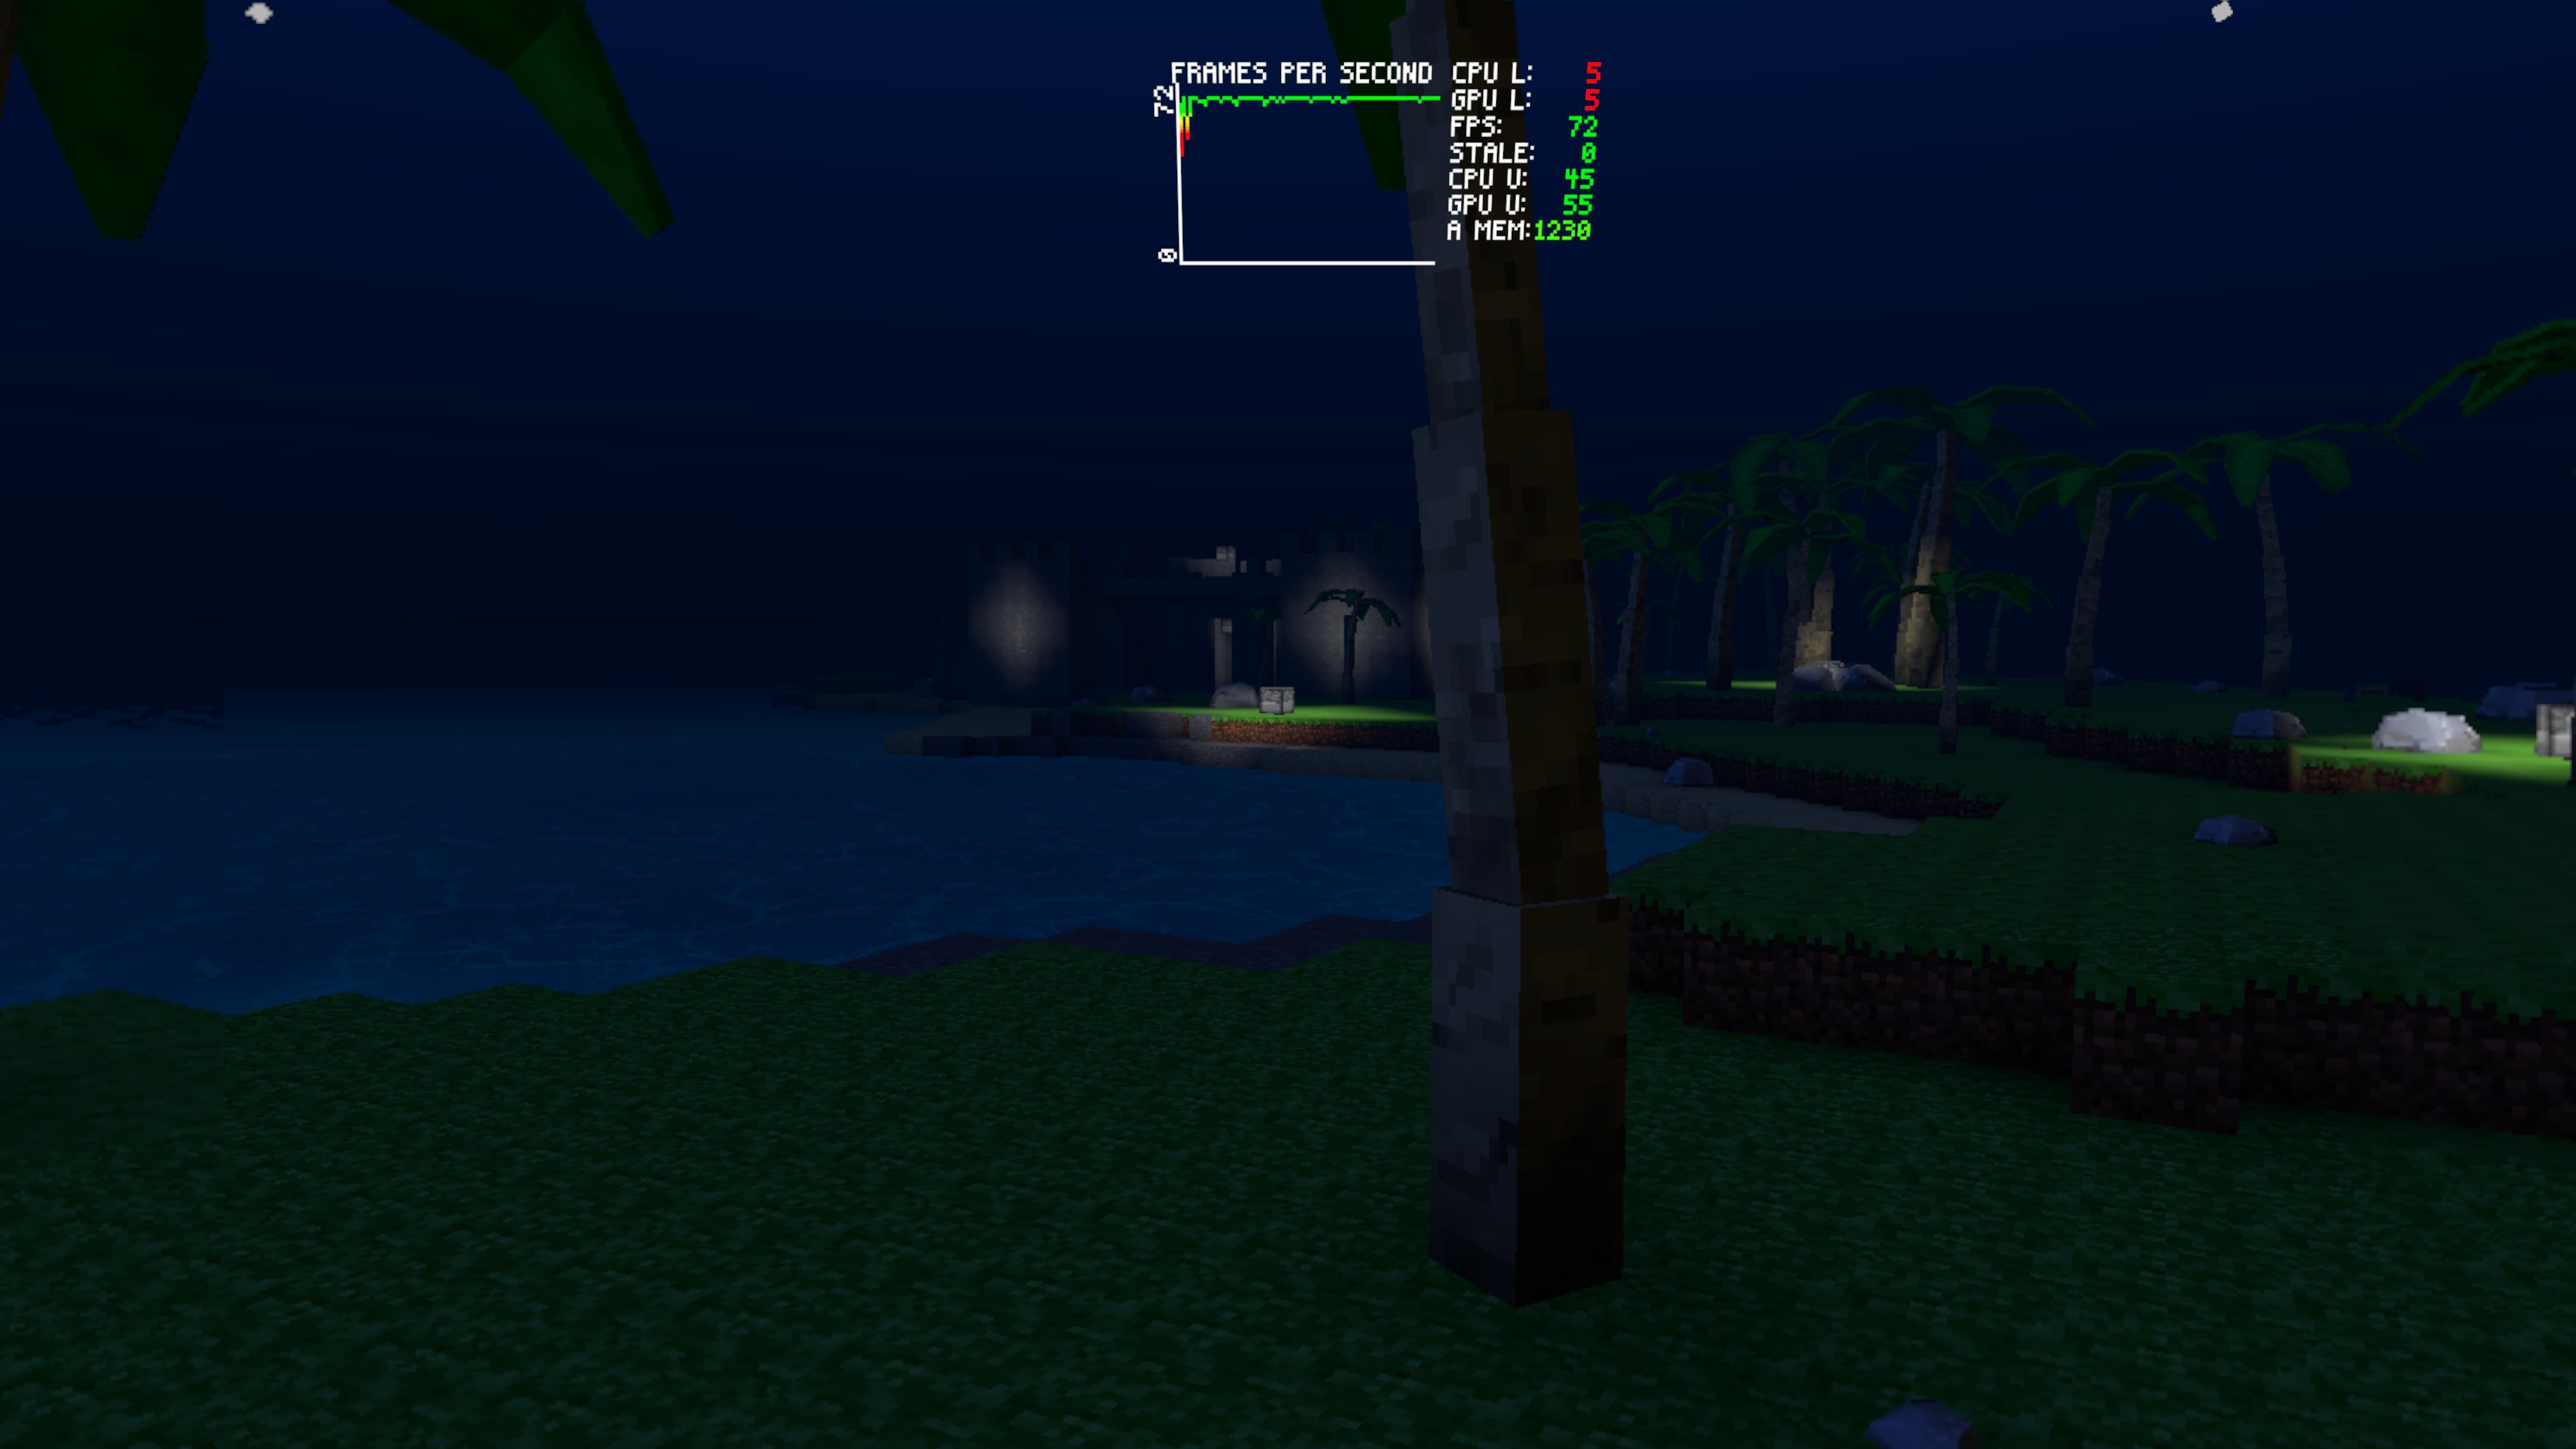
One of the most important aspects of the sky system is creating the horizon and the illusion that the world doesn’t have an edge. I make the horizon color solid for the bottom portion of the sky and get the fog color matching this horizon color properly over time. With the sky and fog color in sync for the horizon the chunks and detail models fade in/out with movement. This provides the illusion that the world is continuous but chunks are just being generated or loaded as the player moves.
Currently there is too much fog and the visual distance is shorter than I would like. All the images you see are from the Quest 2 since it is the baseline with the least powerful cpu/gpu. There is a larger visual distance on Quest 3 that helps and I hope to eventually work on an LOD system for the chunks and push this out some more with a larger part of the world visible.

Above the bottom portion of the skydome image the horizon color transitions in a gradient to the day or night color at the top. The sun and moon/stars are shown which are simply additional geometry elements. Everything is synced over time to make the sunrise and sunset transitions.
Ultimately this system is simple, costs very little in terms of performance and works well for the art style. Next I am going to work on the sunset being a different color – more orange. I also want to get the cloud system working which will be tinted with the horizon color.
Underwater Lighting
Water and underwater environments are going to be very important in Zotbox. The first planned mini game is going to be Lost Loot which is primarily an exploration game with core mechanics around searching for shipwrecks and sunken treasure. So underwater lighting is a critical part of the overall lighting work.
The initial implementation I have completed interacts with the sky system in various ways as the camera drops below the water surface or rises above it. This happens in a small buffer around the camera so it isn’t possible to see through the surface from the outside and see under the water without the water effects showing.
When underwater the fog and the block base global illumination is adjusted based on depth. Here are how various depths look.

Shallow areas with a clearer more turquois color and less fog.

Deeper areas with a bluer darker color and more fog. The ocean test biome I have going makes large seagrass at these lower areas which are about as tall as a person.

The deepest areas where the color is a dark blue and the light level keeps going down until it is black. These areas have little or no seagrass and require a headlamp to see.
Underwater environments provide a lot of interesting and exciting possibilities in VR both in visuals and mechanics and I am planning to do lots of additional features that make underwater lighting more interesting.
Dynamic Block Based Lights

Another equally important lighting aspect I am working on is pseudo real-time lights. In Minecraft there isn’t any real-time lighting only fixed lights that then recalculate the block based global illumination when changed.
I am trying to implement a fast method for this to have some ‘real-time’ lights in the scene that have all the same characteristics of block based lighting but change quickly. So far this is working however visually it is hard on the eyes with the constant flashing from the shifting light on the blocks. I am still experimenting with ways to make this more comfortable such as doing interpolation over time to make the light level changes more gradual.
In closing I’ll just say that trying to make a Minecraft like world in VR run on a Quest 2 is not easy. However on the flip side it is really fun building and exploring procedural block based worlds in VR and that is what keeps me interested and excited to see where this goes!
